
Introduction
Running out of storage on your Nintendo Switch can disrupt your gaming adventures. Upgrading your SD card not only increases storage but also secures your valuable game data. This guide will provide you with a comprehensive approach to change your SD card seamlessly and without data loss, ensuring your gaming momentum stays uninterrupted.
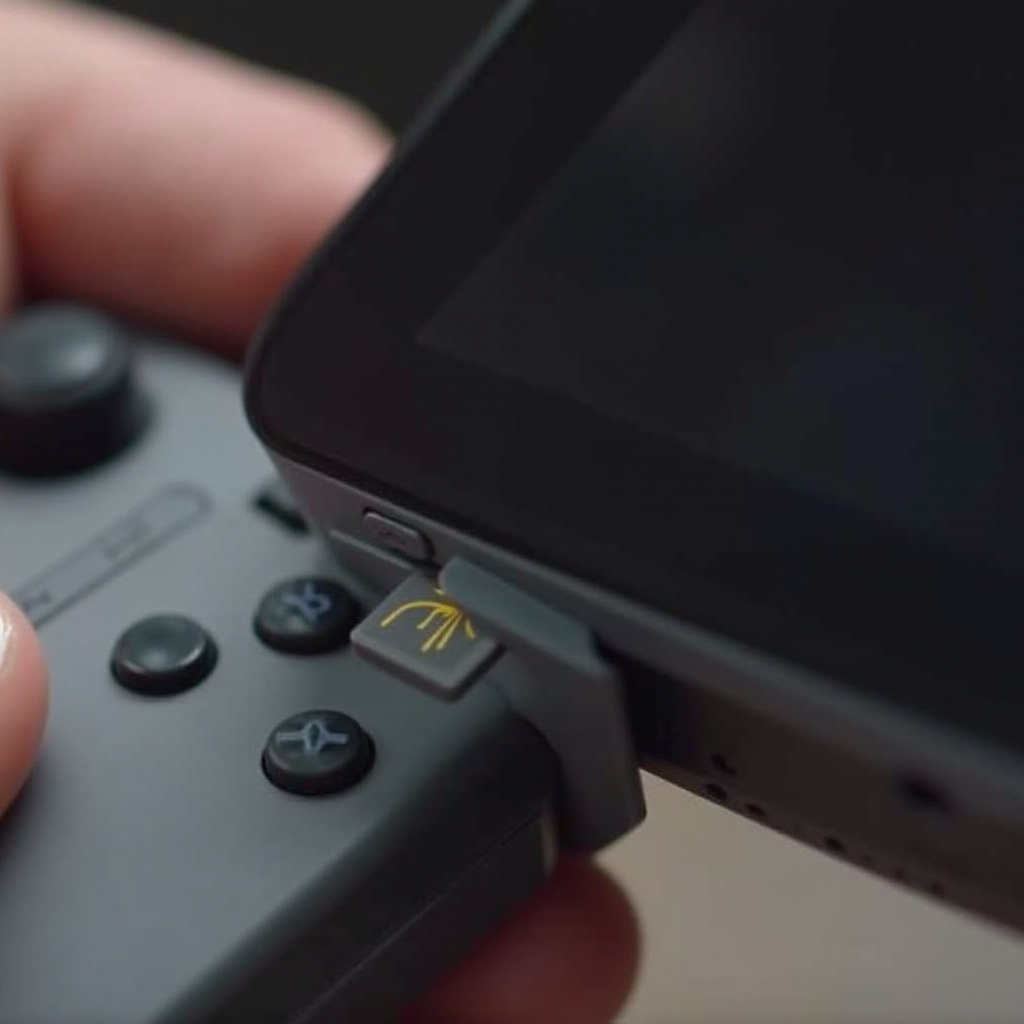
Why Upgrade Your Nintendo Switch SD Card?
Understanding the need for an upgrade emphasizes the importance of the process.
Running Out of Storage Space: As you download more games and content, the default storage can fill up quickly. Upgrading your card provides the extra space you need to expand your library.
Improving Performance and Speed: A higher quality SD card can offer improved read/write speeds, leading to faster loading times and a more streamlined gaming experience.
Addressing SD Card Issues: Performance hiccups or frequent errors might indicate it’s time for a new, reliable SD card.
Grasping these benefits prepares you for the next crucial stage: transferring your data without a hitch.
Preparing for the SD Card Transfer
Preparation is the key to a smooth SD card switch, protecting your data from any loss.
Backing Up Your Current Data: Before beginning, back up all your game data. This precaution safeguards your files against unexpected complications.
Ensuring SD Card Compatibility: Verify that your new SD card meets the Nintendo Switch’s specifications to avoid compatibility issues.
Gathering Necessary Tools and Equipment: You will require a computer with an SD card slot or a USB card reader to facilitate the data transfer, ensuring all equipment is ready will streamline the process.
With all preparations in place, you are set to transition your SD card with confidence.
Step-by-Step Guide to Changing Your SD Card
The actual process of changing your SD card can be straightforward with careful attention to each step.
-
Safely Powering Down Your Nintendo Switch: Turn off your console completely to protect your data. Press the power button, access ‘Power Options,’ and confirm shutdown.
-
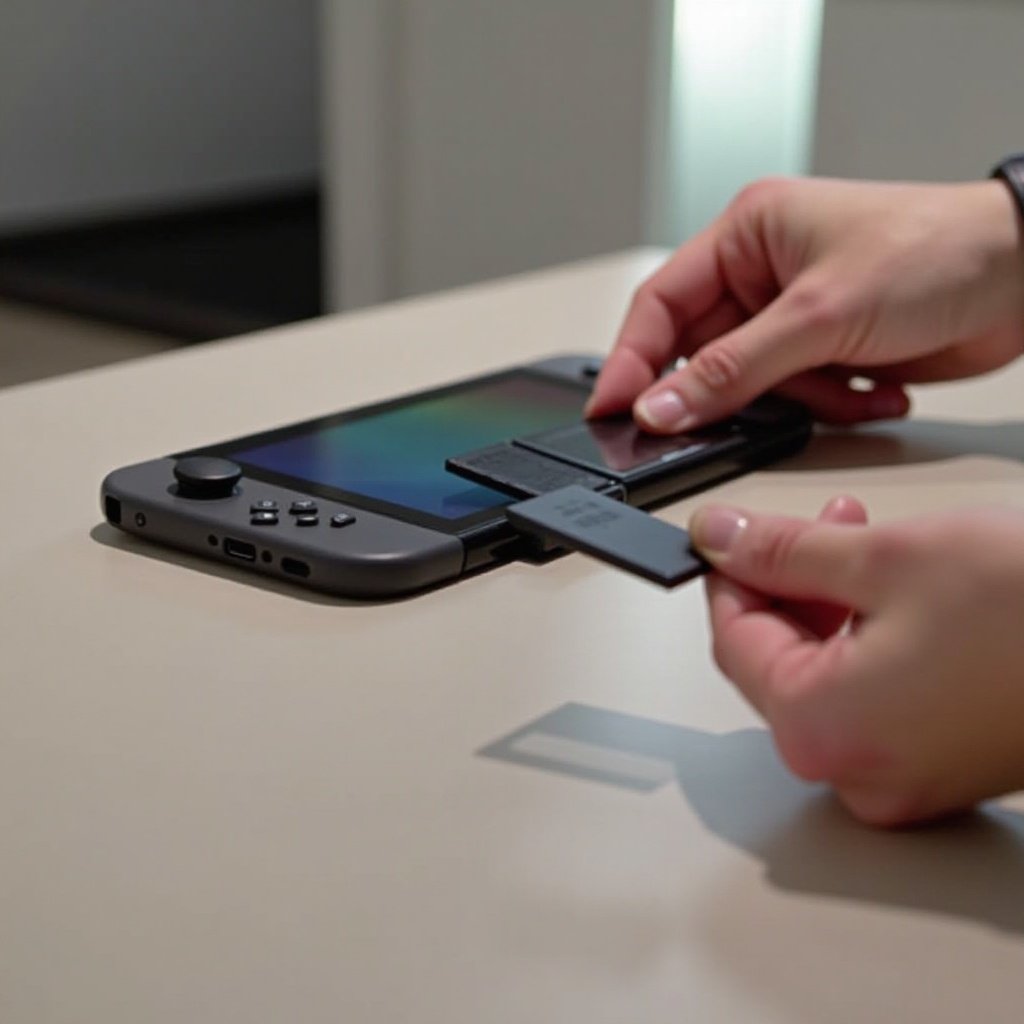
Removing the Current SD Card: Gently eject the SD card from the slot located at the back of your console.
-
Using a Computer to Transfer Data:
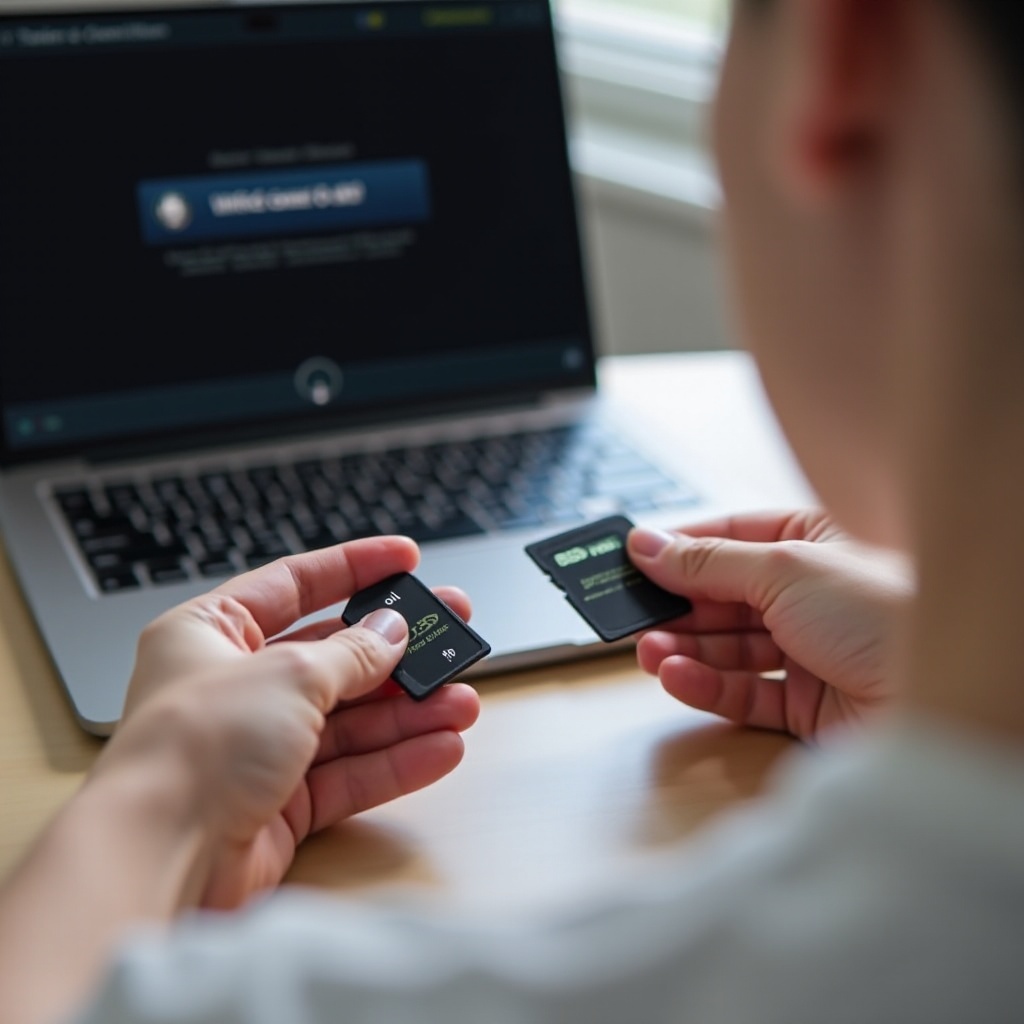
- Insert the existing SD card into your computer’s slot or use an appropriate USB card reader.
-
Copy all data onto a designated folder on your computer, ensuring a complete transfer before removing the card.
-
Transferring Saved Data to the New SD Card:
- Insert the new SD card into the computer.
-
Transfer the saved data from the computer to the new SD card, confirming a full transfer of files.
-
Inserting and Initializing the New SD Card: Place the new SD card into the console. Power on, and the Switch will automatically recognize and initialize the new card.
A well-executed transfer guarantees that your data remains intact. Verifying this success is the next step.
Verifying a Successful Data Transfer
Ensuring that your transition was effective is crucial for a seamless continuation of your gaming.
Checking Game and Save Data: Launch a few games to check that all saved progress and settings are intact and functioning.
Resolving Any Missing Files: If discrepancies are found, revisit your data on the computer and ensure all files were properly transferred.
A successful verification reassures you that the process was executed correctly. However, if issues arise, troubleshooting might be needed.
Troubleshooting Common Issues
Even with careful execution, occasional issues might occur during or after the transfer.
Fixing Read/Write Errors: Ensure the SD card is securely and properly inserted in the console, and try re-seating if necessary.
Addressing Corrupted Data: If files seem corrupted, revert to your original backup and attempt the transfer process again.
Ensuring Compatibility Issues Are Solved: Cross-check the SD card specifications with Nintendo’s requirements if any recognition issues persist.
Following these steps ensures not only a smooth transition but also prepares you for any unforeseen challenges.
Conclusion
Transitioning to a new SD card is a straightforward process when approached with preparation and care. By following this guide’s steps, you can increase your storage capacity without risking your valuable data. This process not only enhances your console’s performance but also extends your gaming adventures without interruption.
Frequently Asked Questions
Can I Use Any SD Card for the Nintendo Switch?
Ensure the SD card is compatible with the Switch. Check its speed and size specifications for compatibility.
How Do I Know If My Data Transfer Was Successful?
Verify the transfer by launching games and checking saved data. All files should be intact and functional.
What Should I Do If My New SD Card Isn’t Recognized?
Reinsert the card properly and check for compatibility. If the issue persists, try reformatting the card.