
Introduction
Enjoy the convenience and security Touch ID offers on your MacBook Air. With just a touch, you can unlock your laptop and authorize purchases, keeping your data secure. This guide will show you how to set up Touch ID and highlight its benefits. Begin by understanding the basics and ensuring your device is ready for the setup process.

Understanding Touch ID on MacBook Air
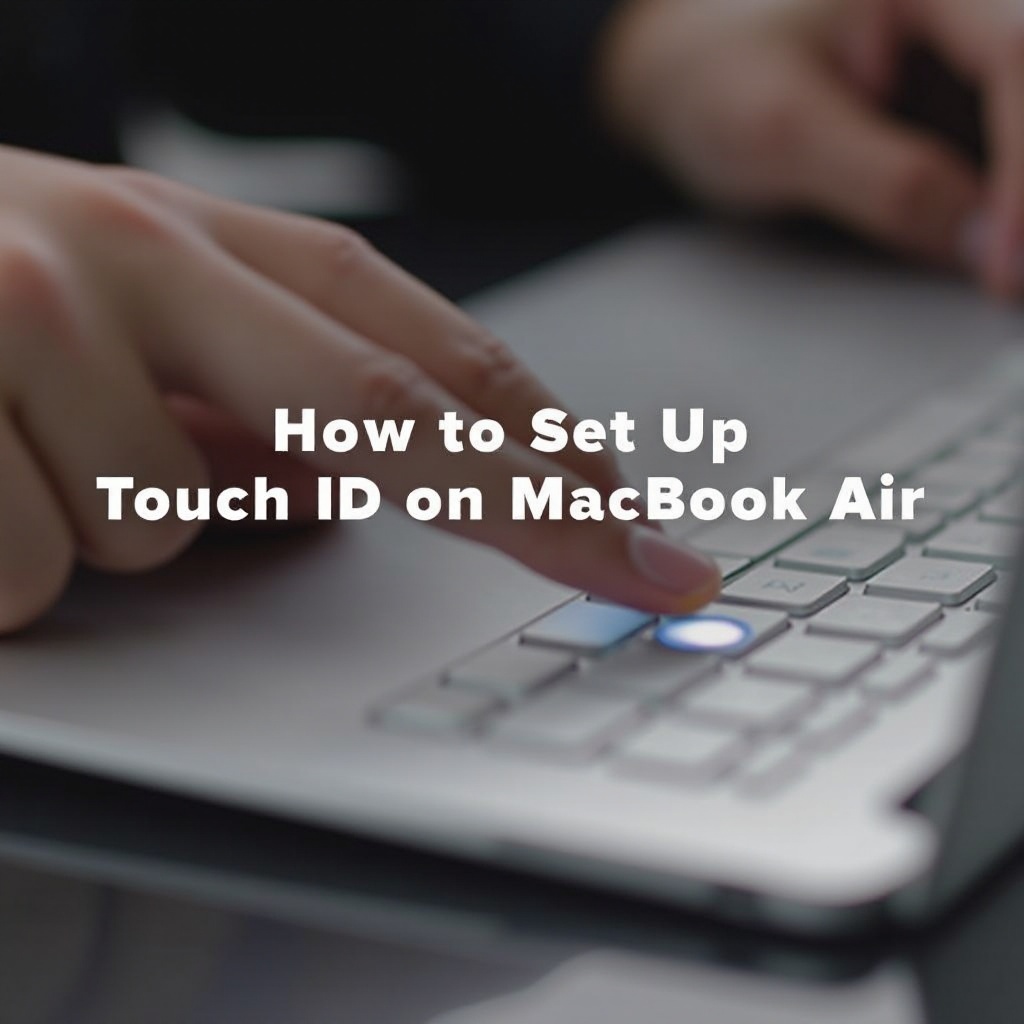
Touch ID technology uses your fingerprint for recognition, adding a robust layer of security to your MacBook Air. Models from 2018 and later come equipped with this feature, integrated into the power button. Touch ID not only unlocks your device but also facilitates fast and secure transactions. Preparing your MacBook is the next step towards leveraging this technology.
Preparing for Touch ID Setup
Before setting up Touch ID, confirm your macOS version supports it. Ensure your system is up to date to benefit from the latest security features. Protect your information by backing up your data using Time Machine or another backup method. With these preparations, you can move forward with confidence to set up Touch ID.
How to Set Up Touch ID on Your MacBook Air
Setting up Touch ID is simple and improves device security significantly. Here’s how:
- Open ‘System Preferences’ from the Apple menu.
- Select ‘Touch ID’ from the options.
- Click ‘Add Fingerprint’ and follow the prompts:
- Place your finger on the sensor as directed.
- Lift and reposition for a full scan until complete.
After your fingerprint is successfully added, adjust the settings to optimize its functionality for your daily use.

Customizing Touch ID Settings
Enhance your user experience by customizing Touch ID settings:
– Add Multiple Fingerprints: Up to three per user, accommodating multiple users or finger positions.
– App Security Preferences: Decide which apps and functions, like Apple Pay, you want to protect with Touch ID.
Fine-tuning these settings ensures a balance between security and ease of access. Addressing potential issues quickly can maintain the seamless operation of Touch ID.
Troubleshooting Common Touch ID Issues
Encountering issues with Touch ID can be resolved with these quick tips:
- Unrecognized Fingerprint: Ensure your fingers and sensor surface are clean and dry. Re-register the fingerprint if issues persist.
- Sensor Malfunction: Restart your MacBook Air and check for updates. Persistent problems may require professional evaluation.
- Sensor Maintenance: Regular cleaning of the sensor helps maintain functionality, using a soft cloth and avoiding harsh substances.
By implementing these troubleshooting measures, you ensure minimal disruption in using Touch ID. Now, let’s look at additional ways to enhance your MacBook’s security.
Additional Security Practices for MacBook Air
While Touch ID is a powerful tool, combining it with other security measures fortifies your MacBook:
- Enable FileVault: Encryption protects sensitive data on your drive from unauthorized access.
- Strong Password Usage: A strong password complements Touch ID, adding an extra layer of security.
- Regular Software Updates: Keeping your macOS updated ensures you benefit from the latest security enhancements.
Combining these practices with Touch ID creates a secure environment for your MacBook Air, offering peace of mind.
Conclusion
Touch ID seamlessly integrates into your MacBook Air setup, offering security and convenience. With this guide, you can confidently set up and customize Touch ID to suit your use. Combine its strengths with additional security practices to fully protect your device.
Frequently Asked Questions
How many fingerprints can I add to my MacBook Air?
You can add up to three fingerprints per user, and overall five for the entire device.
Can Touch ID be used for all applications?
Touch ID can unlock your MacBook Air, authorize Apple Pay, and work with some apps that support the feature.
What should I do if the Touch ID sensor does not recognize my fingerprint?
Ensure your finger and sensor are clean and dry. Re-add your fingerprint if the problem continues.